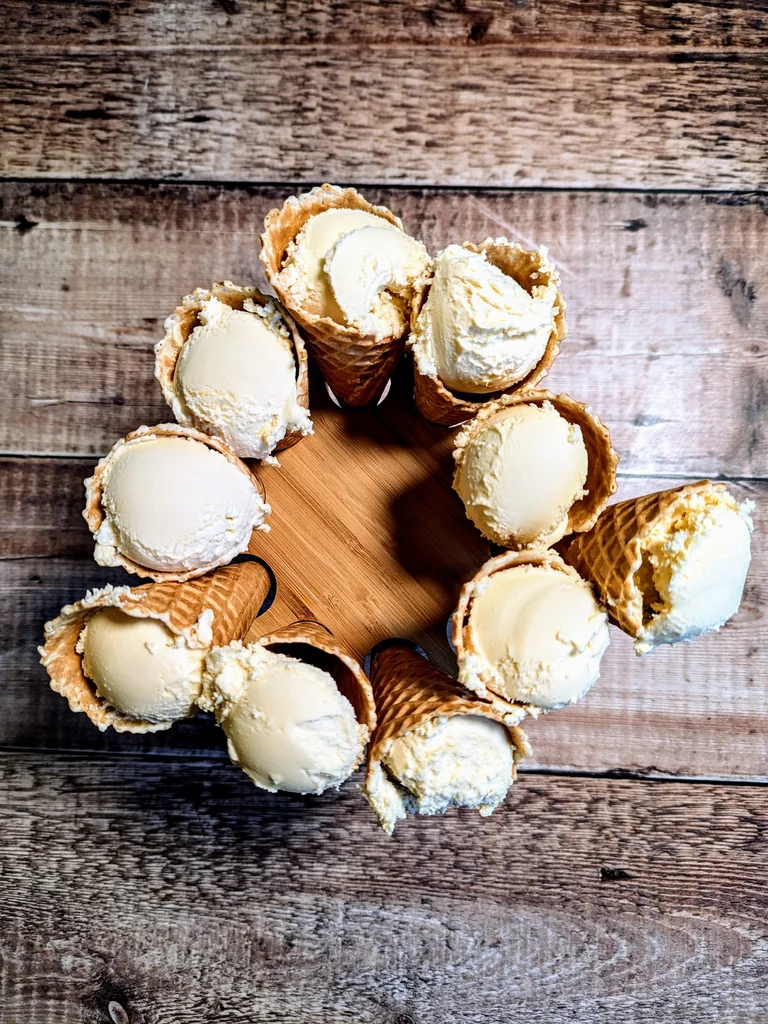
O

Old School Jam and Coconut Sponge

This old school jam and coconut sponge takes me right back to primary school dinners – except this version’s a fair bit better than what we got back then. It’s a proper classic: a light gluten-free sponge topped with warm, sticky jam and a generous sprinkle of coconut.

The recipe itself couldn’t be simpler. You’ll make a basic sponge using the classic creaming method, where butter and sugar are beaten together until fluffy before adding eggs and flour. The gluten-free flour works brilliantly here – in fact, most people wouldn’t notice the difference in the finished cake. That’s what makes this recipe particularly special – whether you need to avoid gluten or not, everyone can enjoy a proper slice of nostalgic traybake.

What makes this cake so good is how the warm jam slightly melts into the sponge, while the coconut adds a lovely texture and subtle sweetness. It’s brilliant with a cup of tea, but if you’re feeling indulgent, serve it with custard like we used to get at school.

This is the kind of cake that works just as well at a bake sale as it does for dessert after Sunday dinner. It keeps well in an airtight tin for a few days too. Let’s take a trip down memory lane!

Old School Jam & Coconut Sponge Cake

  • Servings: 12
  • Difficulty: easy

Ingredients

  • 280g butter, softened
  • 280g caster sugar
  • 5 large eggs
  • 280g gluten-free self-raising flour
  • 300g raspberry or strawberry jam
  • 50g desiccated coconut

Directions

  1. Preheat oven to 180°C. Line a 9″x12″ baking tin with greaseproof paper.
  2. In a large mixing bowl, cream together softened butter and sugar until light and fluffy.
  3. Add eggs one at a time, mixing well between each addition.
  4. Sift the gluten-free self-raising flour into the mixture. Gently fold until fully combined.
  5. Pour batter into the prepared tin, spreading evenly.
  6. Bake for 30-40 minutes until golden and a skewer inserted into the center comes out clean.
  7. Cool in tin for 5 minutes, then transfer to a wire rack to cool completely.
  8. Once cooled, gently warm the jam in the microwave for 20 seconds to make it spreadable.
  9. Spread the warmed jam evenly over the top of the cake.
  10. Sprinkle desiccated coconut generously over the jam layer.
  11. Cut into squares and serve. This is really nice with some homemade custard.

Don’t miss these recipes! 🤞

Subscribe to get my new recipes delivered to your inbox. Unsubscribe anytime.

CategoriesDesserts